After Effects is a great tool, but some of its features can be confusing: for instance, finding the options to create basic things, such as a loop, can be hard.
In today’s article, you’ll learn how to loop footage step-by-step in After Effects.
Let’s dive in!
How to Loop a Video in After Effects
We’ll look at three ways to loop video in After Effects that work in different scenarios.
Interpret Footage Method
-
Step 1: Import Video File
Create a new project, import the video file you want to loop in After Effects from the File menu, and click Import > File.
Then, create a new composition with your preferred settings and a duration longer than the video. You can change the duration later from the Composition settings.
-
Step 2: Interpret Footage
Right-click the video footage you want to loop in the Project panel and select Interpret Footage > Main.
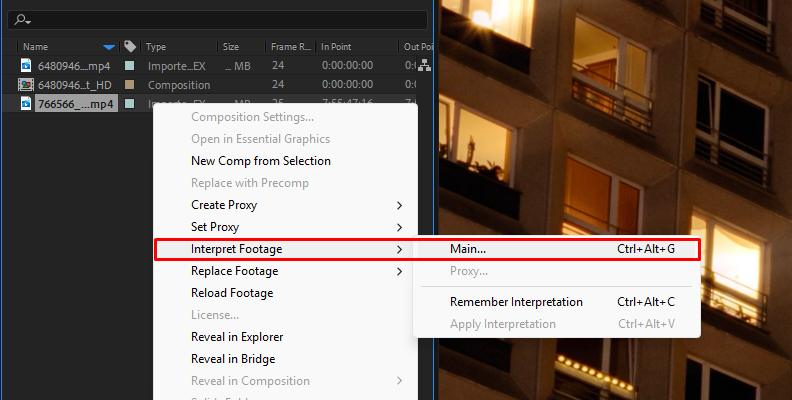
The Loop option is at the bottom of the Main Options tab, below “Other Options. " Type a number to set the times the video will loop in the composition and press OK.
-
Step 3: Add Video File to Composition
Drag the video file to the layers panel to add it to the composition. Your video will playback in a loop the number of times selected. Now, you can edit the video and work on your final comp.
Fading Method
-
Step 1: Import Video File
Create or open a new project and import the video file to loop. Drag the video clip to the layers panel in your composition. Trim the video to leave the content of the video you want to loop.
Duplicate the layer by pressing CTRL/CMD+D or selecting the layer and going to Edit > Duplicate.
-
Step 2: Add Transition Fade
Drag the duplicated layer and align it to the end of the original video, slightly overlapping. Animate the Opacity so that the above layer reveals over the layer below.
Time Remapping Method
-
Step 1: Import Video File
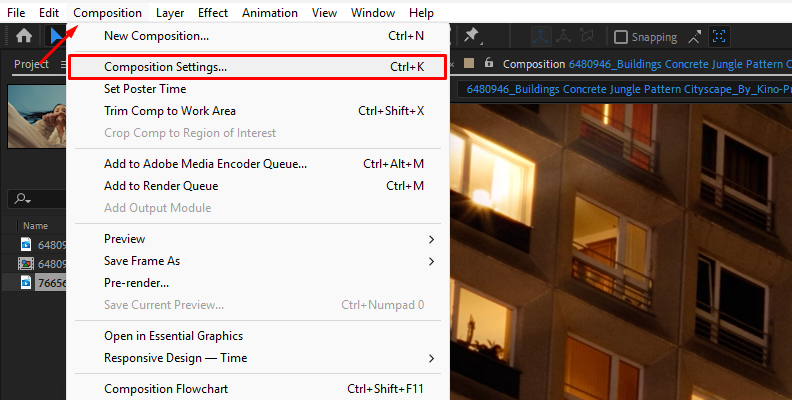
Create a new project and import the video file to loop. Drag the video clip to the layers panel to create a new composition the size of your video.
Go to Composition > Composition Settings and change the duration, considering the times you want the video to loop.
-
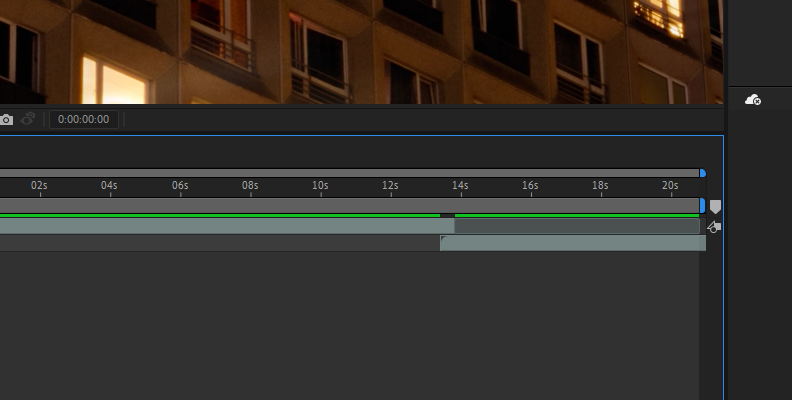
Step 2: Create a Seamless Loop
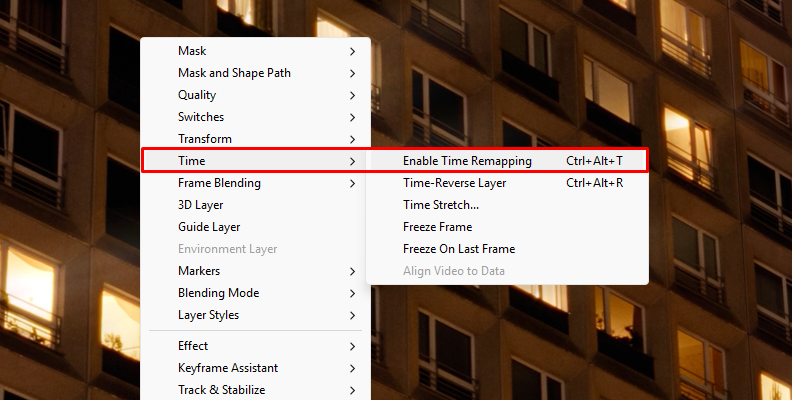
Right-click the video layer with the video you want to loop and select Time > Enable Time Remapping from the dropdown menu.
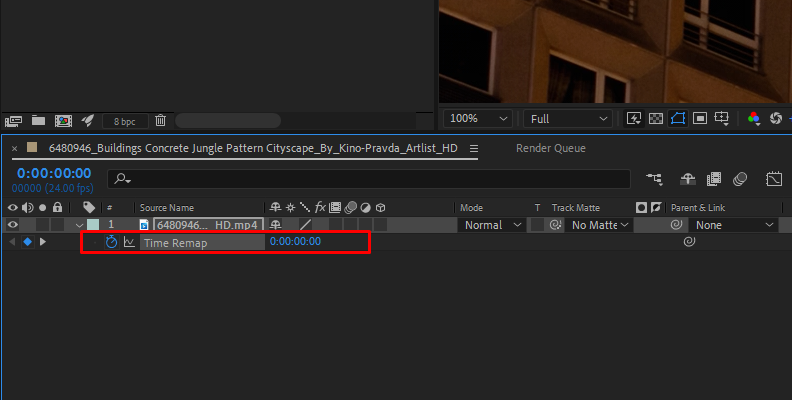
A new option will appear below the layer. Alt-Click (or Option-Click) the stopwatch in the Time Remap and add the expression loopOut(). Next, drag the end of the layer to extend the length of the loop.
Loop a Video in After Effects with BCC Looper
BCC Looper allows you to create a looping video with a single effect and offers options to customize the number of cycles, the starting frame, loop modes, and fading options.
-
Step 1: Import Video
Import your video footage into After Effects into a new or existing project. Drag the video to the layers panel to create a new composition or add it to an existing one.
-
Step 2: Apply BCC Looper
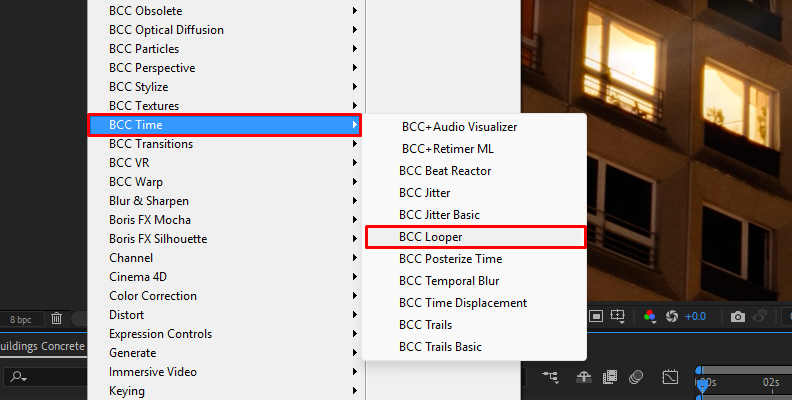
Select the video layer you want to loop and go to Effect > BCC Time > BCC Looper.
You can add BCC Looper to an adjustment layer and select the video layer in the comp from the Loop Layer dropdown menu.
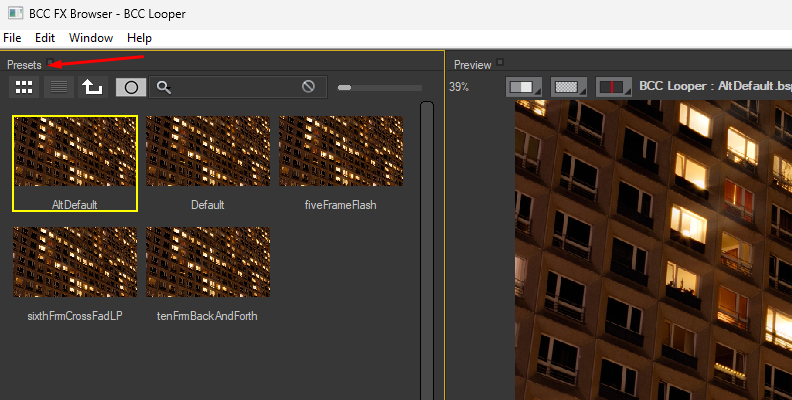
For a quick look at what the filter can offer, you can click the FX Browser and preview the presets included.
-
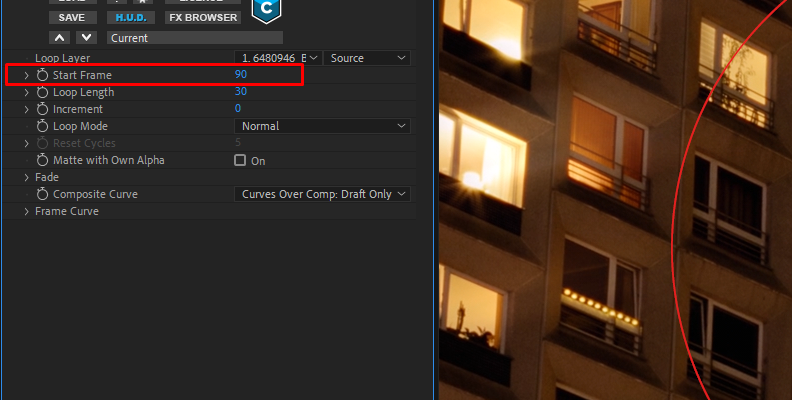
Step 3: Set the Starting Frame
BCC Looper parameters are easy to adjust and customize. You can also select a preset and modify it to your liking. The first thing to do is to choose the starting frame. Use the Start Frame slider to scrub through the video and pick the desired frame.
-
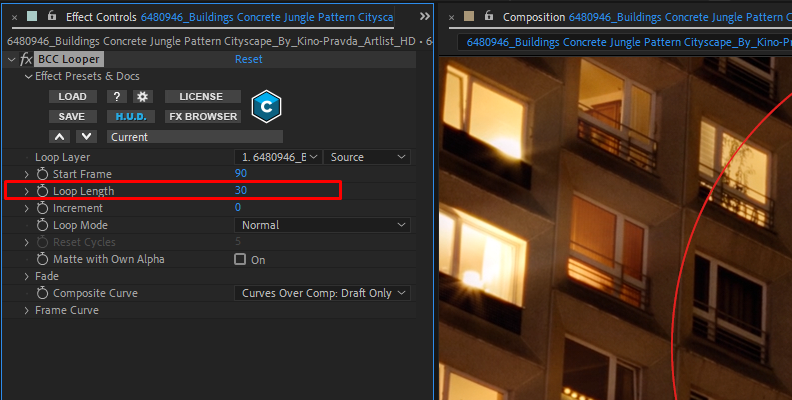
Step 4: Adjust Duration
Use the Loop Length slider to set the number of frames for each loop. It will determine the duration of the video loop in your composition.
-
Step 5: Offset Start Frame
The Increment slider can offset the starting frame on each loop cycle. The number set is how many frames it will automatically increase each loop. If you set the Start Frame at 30 and the Increment at 5, the second loop will start at frame 35, the third one at frame 40, etc. This option helps to add variation to the loop.
-
Step 6: Choose a Loop Mode
Choose a Loop Mode that suits your video from the four options available:
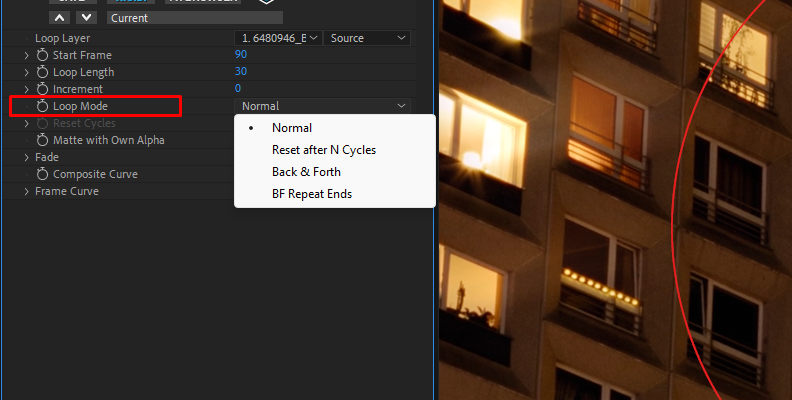
Normal plays the loop once from beginning to end, and repeats from the first frame. It's the basic loop.
-
Reset after N Cycles is just as Normal, but if you have set an Increment value, it will reset after the number of cycles established. You set the number of cycles with the Reset Cycles slider.
-
Back & Forth is used to play the loop forward and backward. The last keyframe is only played once, and then it skips it.
-
BF Repeat Ends plays exactly as Back & Forth, but includes the ending frame on each loop cycle.
-
Step 7: Fade Settings
When the Loop Mode is set to Normal, you can add dissolves and fades to the loop video, blending the transition between each loop. You can set the number of frames where the overlap occurs and the duration of the fade-in and fade-out effect.
Final Words
Keep playing with the settings at each step to achieve better results, and experimenting with Continuum BCC Looper is the best way to create loops for your animations, social media content, and professional videos.
Get a Continuum free trial for more filters and enhance your editing skills.
Good luck!